Item Types
Item Types are used in the system to define the types of material purchased.
To locate Item Types, navigate to the  tab and click on the
  icon. This will open the Item Types screen.
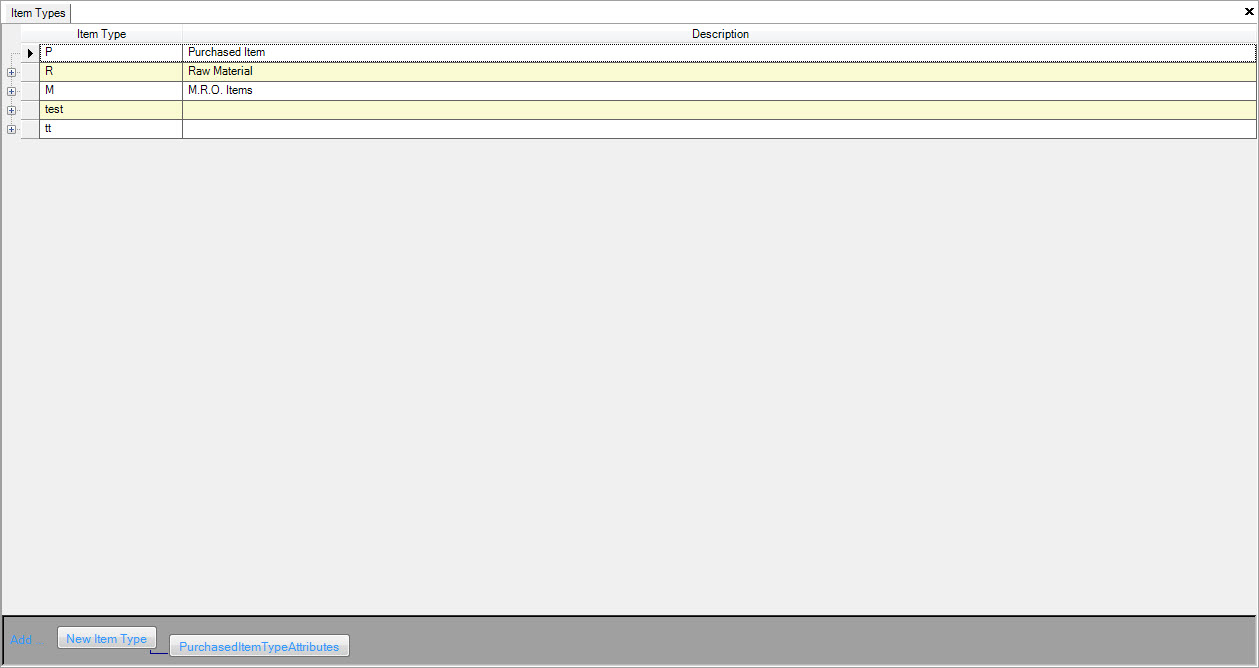
To add a new Item Type, click on the  button located at the bottom of the screen.
A new row will appear where users can enter in information such as the Item Type and Description.
Once the necessary information has been entered in, make sure to save your changes before exiting the screen.
Note
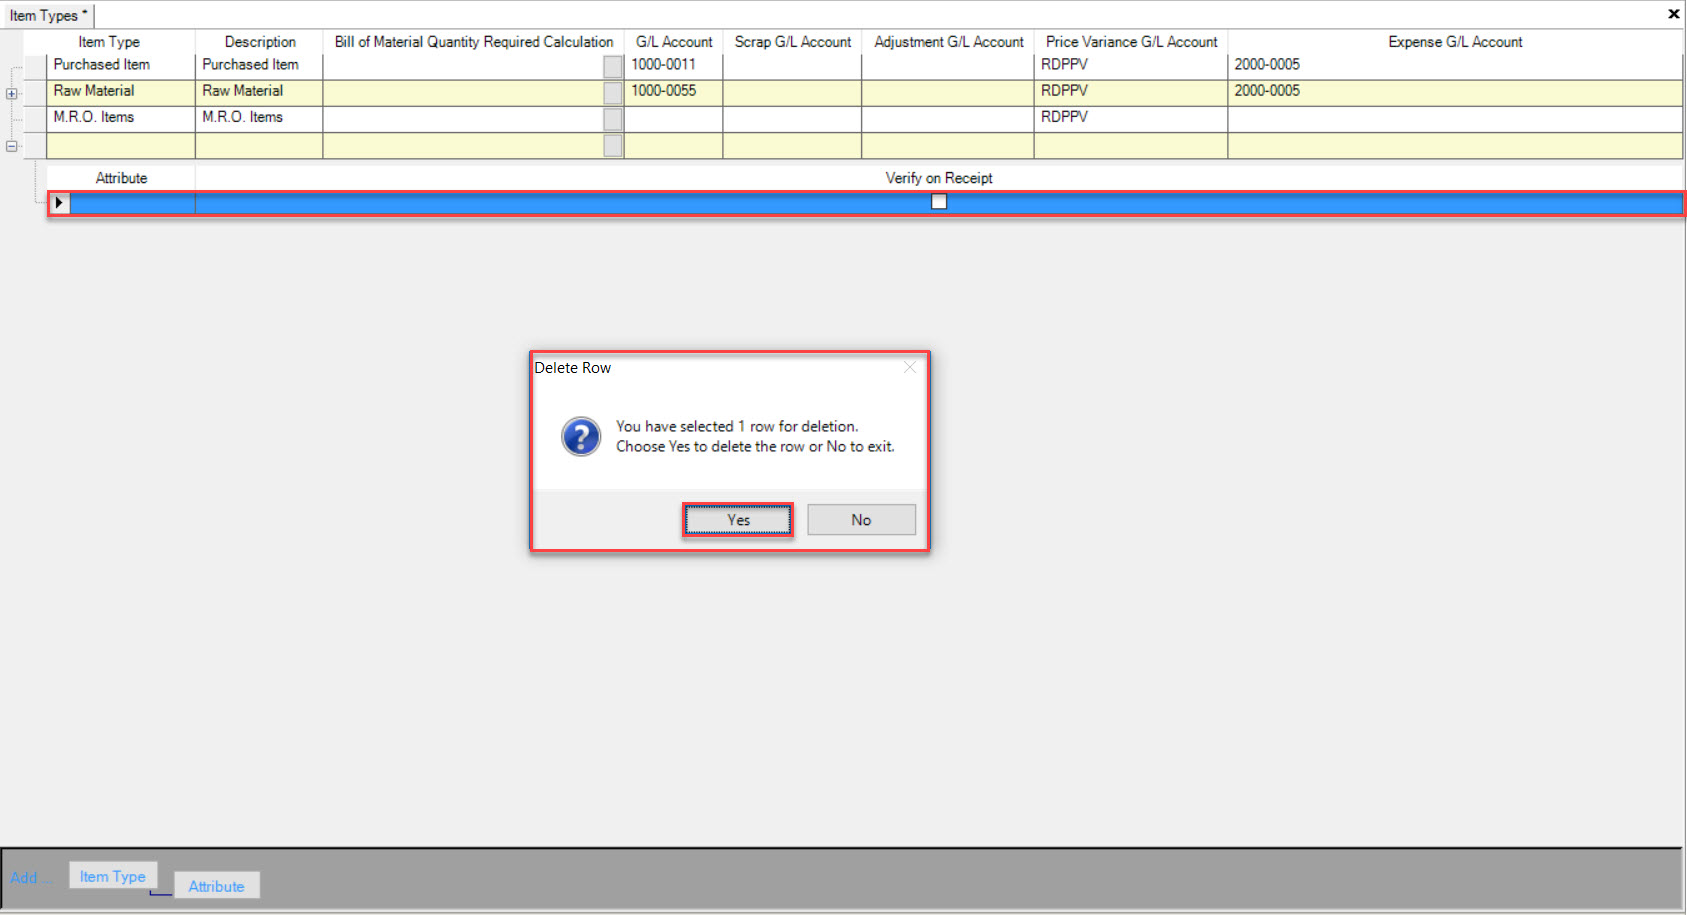
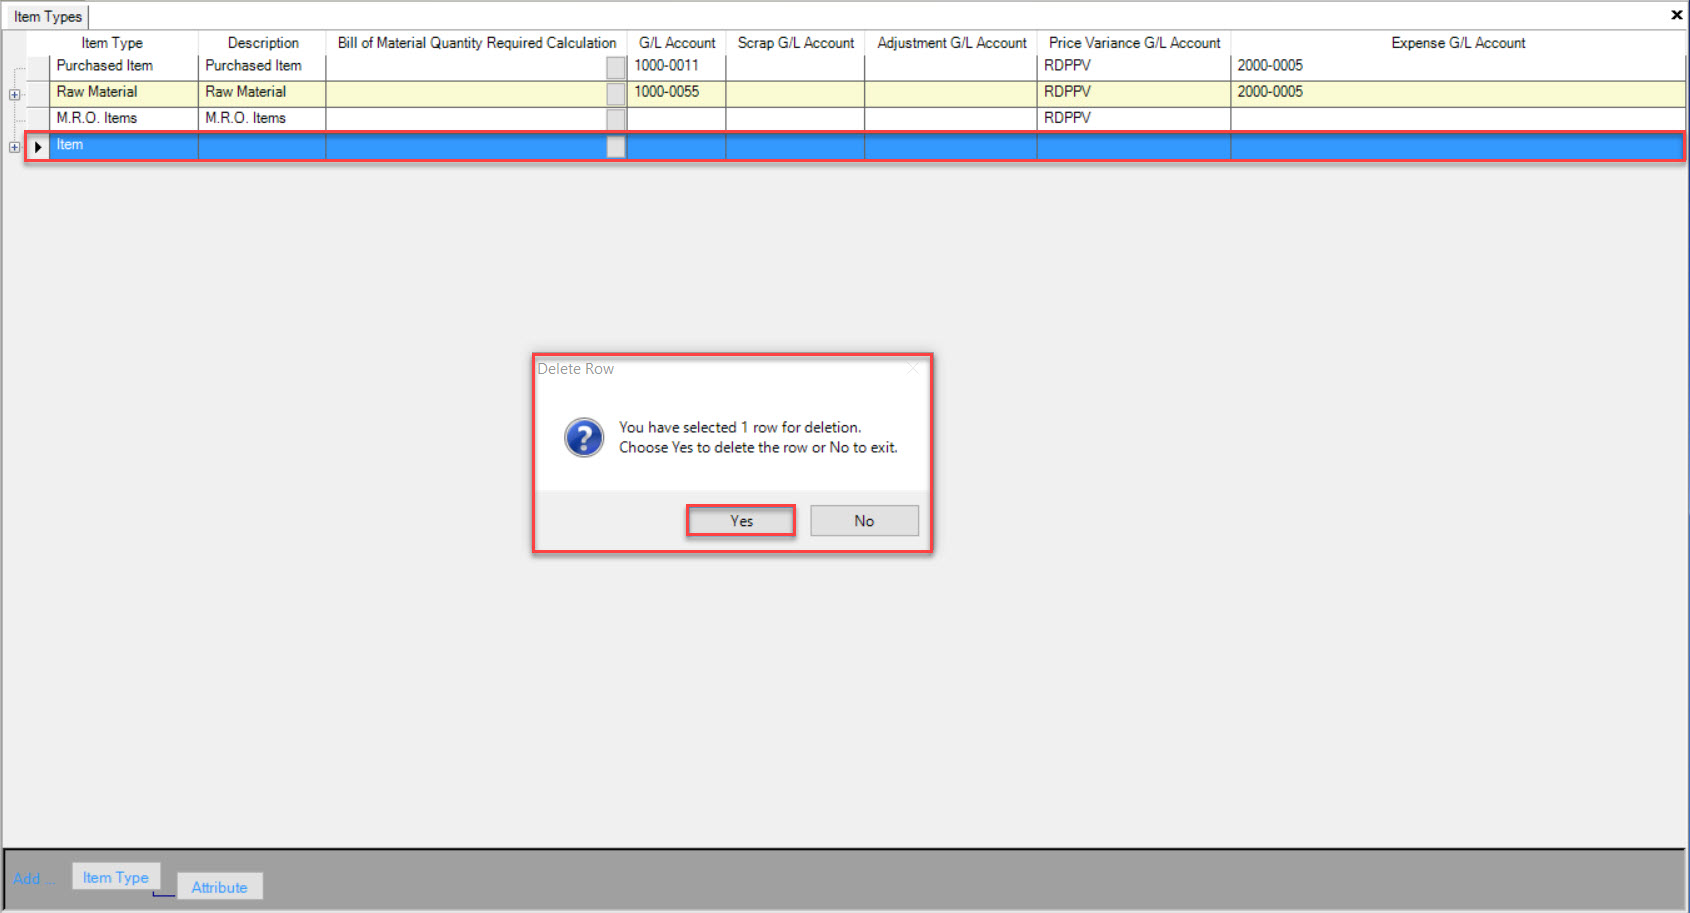
To delete an Item Type, highlight the appropriate row. Use your Delete key and when the system prompts you, select Yes.
Attributes
Some Item Types might also have a set of Attributes that need to be defined and attached to each one where applicable. For example, a coil defined as R or Raw Material, may have width and gauge Attributes that you wish to track upon receipt.
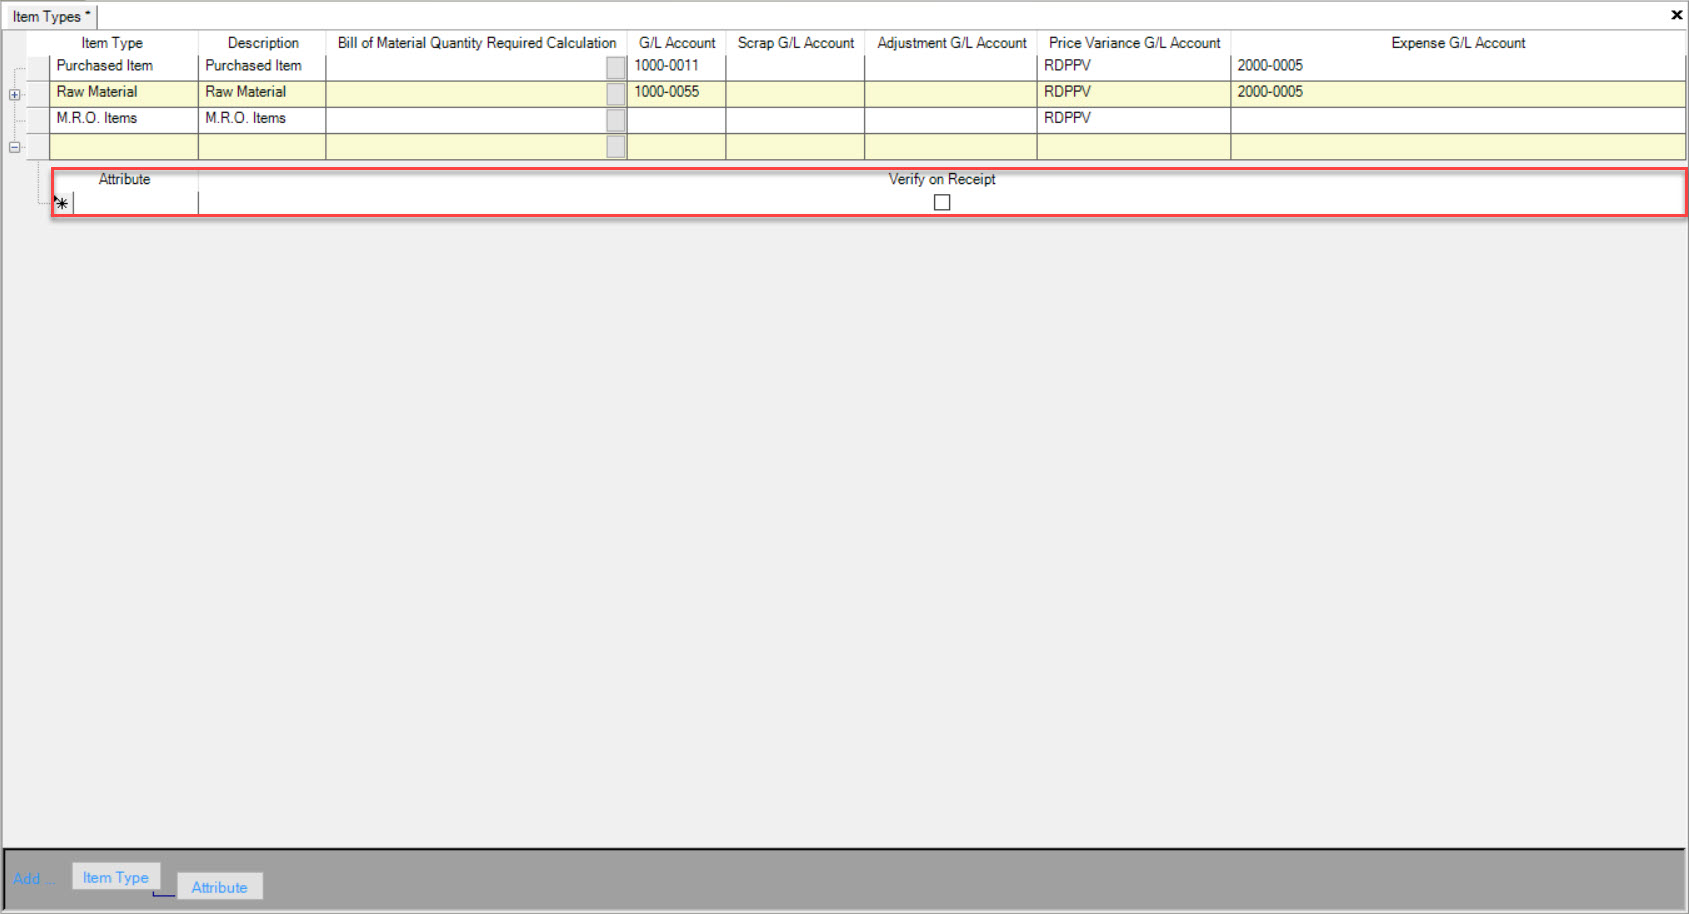
Too add an Attribute to an Item Type, highlight the appropriate Item Type and click on the  button located at the bottom of the screen.
A new row will appear where users can enter in the Attribute, and select in the system if you wish to verify the Attribute upon receipt. By selecting this option, Attributes that are recorded outside of the Min. and Max. measurements will automatically be placed on hold.
Once the necessary information has been entered in, make sure to save your changes before exiting the screen.
Note
When you enter in a new Purchased Item into the system, and select the Purchase Item Type, the Attributes will be populated at the bottom of the screen under the  tab. Users can then enter in the Min. and Max. for each Attribute that are considered upon receiving.
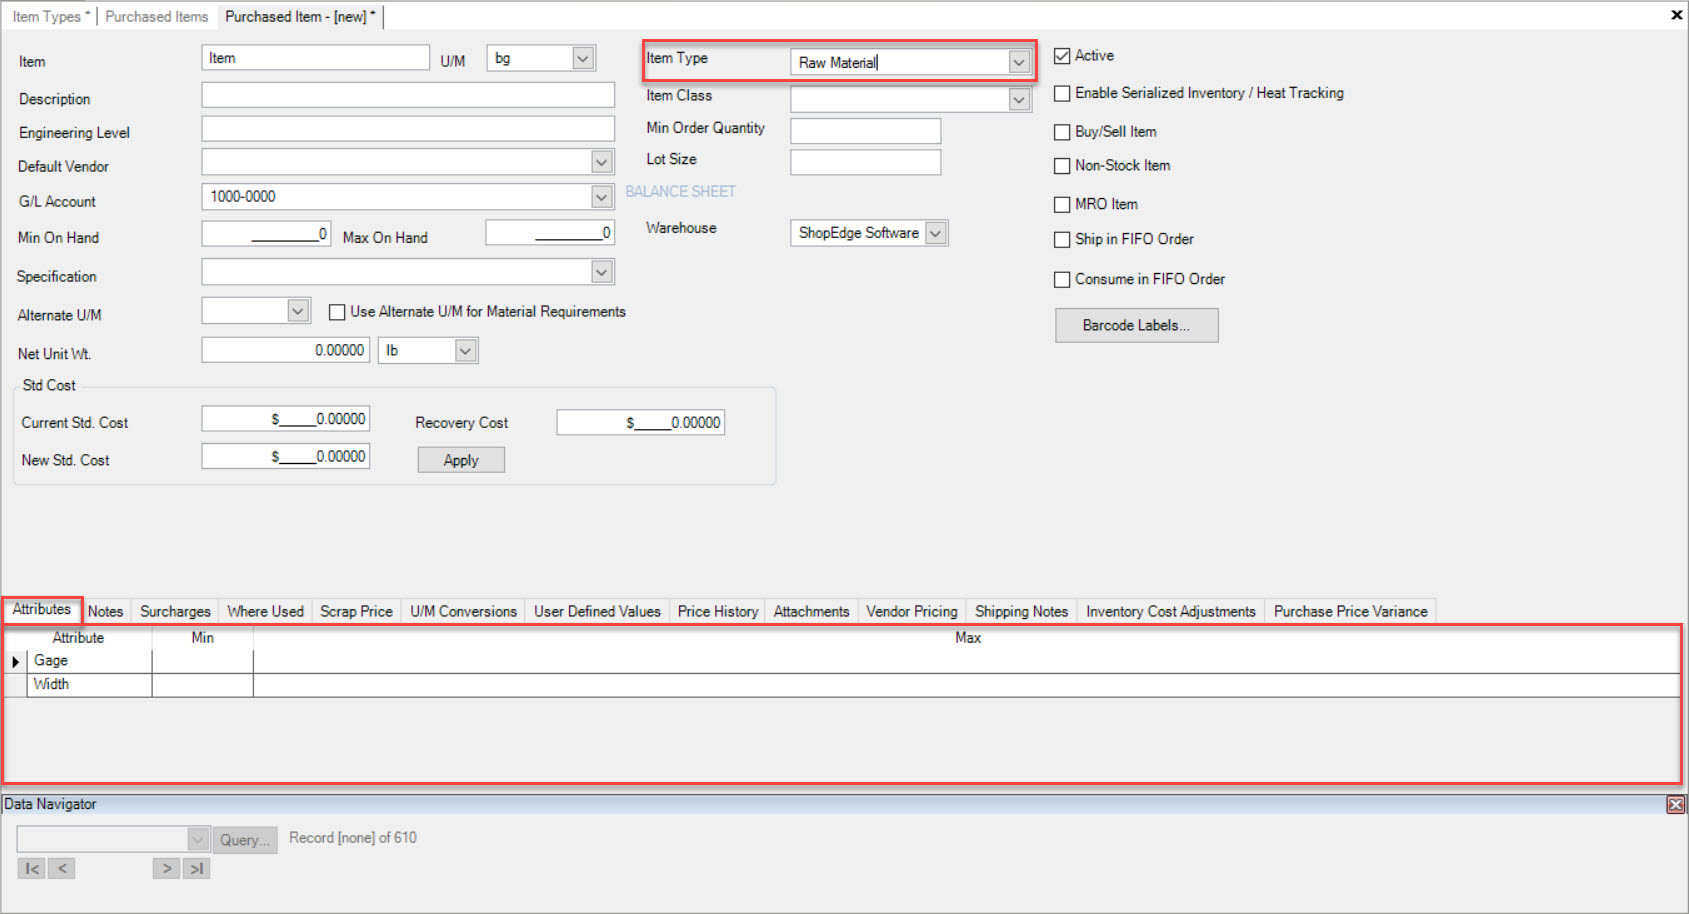
Note
To delete an Attribute from an Item Type, highlight the appropriate row. Use your Delete key and when the system prompts you, select Yes. The Attribute will be deleted from the Item Type. Make sure to save your changes before exiting the screen.
